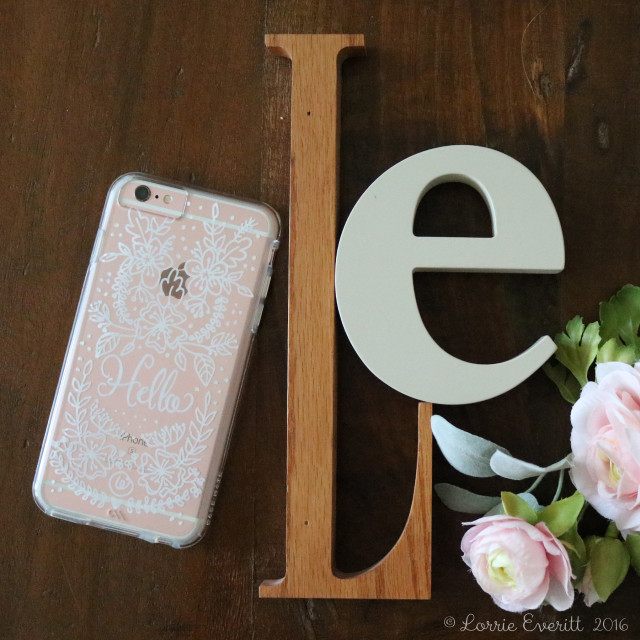
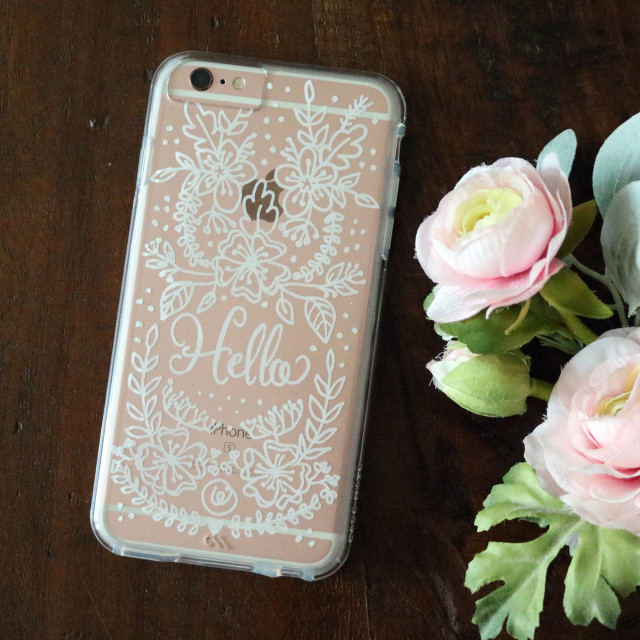
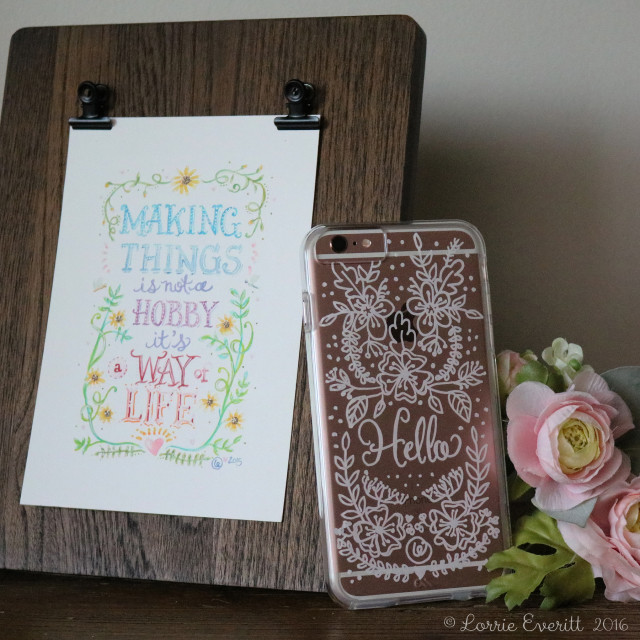
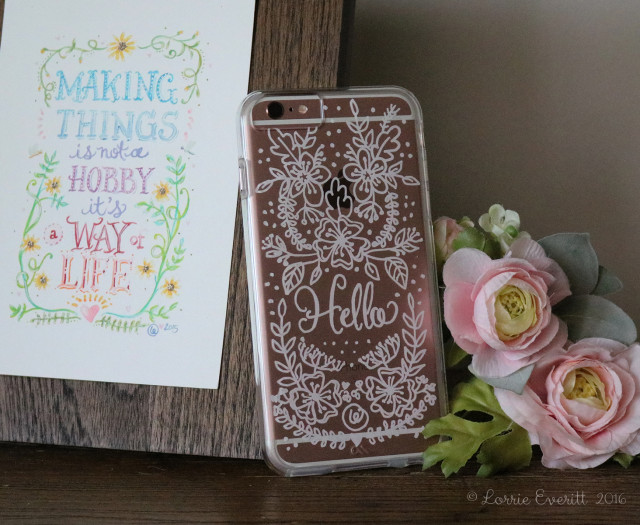
The clear phone case that I bought for my new rose gold iphone was okay but it was B-O-R-I-N-G. So after a couple of weeks, I decided to personalize it myself. This is such an easy diy project and you can do it in an afternoon. If you can trace – you can do this.
Materials
- clear phone case
- extra fine tip white sharpie oil based marker
- extra fine tip black sharpie marker
- paper
- pencil
- lightbox
How to make it
Step 1: Gather your supplies: clear phone case, extra fine tip white sharpie oil based marker, paper, pencil, extra fine tip black sharpie marker and a light box. If you don't have access to a lightbox you can use a piece of glass from a picture frame and a light source to create your own.
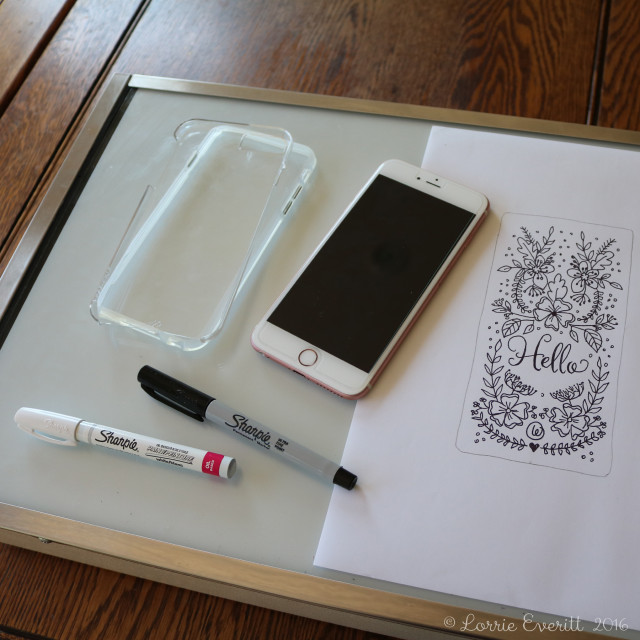
Step 2: I drew out my design in pencil first. You can trace around your case with a pencil to make sure that your design will fit properly. Once you have your rough design worked out use an extra fine tip black sharpie marker and go over your pencil sketch to create your final art.

Step 3: I wanted my design to be on the inside of my case so it would not scratch off easily. Because I have lettering in my design, I had to reverse my finished art. I flipped my paper over on the lightbox so I could see the design from the back. Then I positioned the phone case on top of the paper and used painters tape to keep everything in place for the next step.
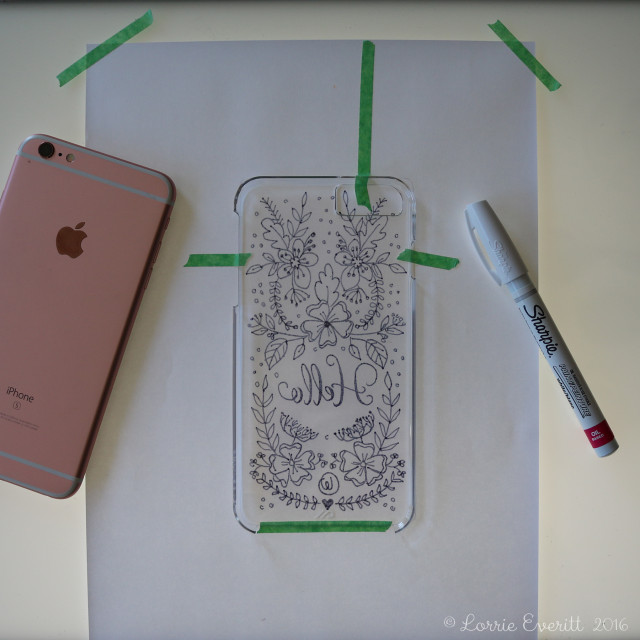
Step 4: This was the fun part - tracing my design onto the phone case using the white sharpie marker. I actually practiced a few times with the paint marker on scraps of acetate before I traced out my phone case. It helped me to get the feel of the markers and to see how long it took for the paint to dry.
Tip: I am right handed so I started to draw out my design at the top left side and worked my way across and then down so that I did not smudge the ink as I was tracing.
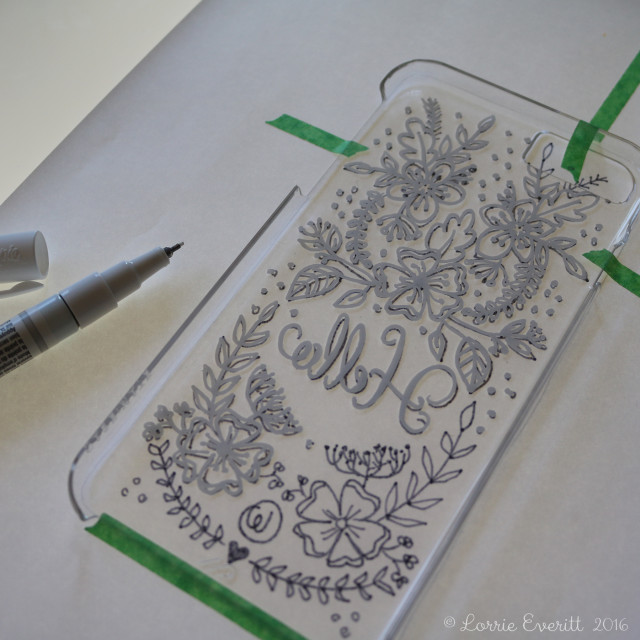
Step 5: When you are done flip the case over and take a look at your design. You can add some extra doodles at this point if you need to. I thought that the space under "Hello" needed a little something so I added some additional dots.
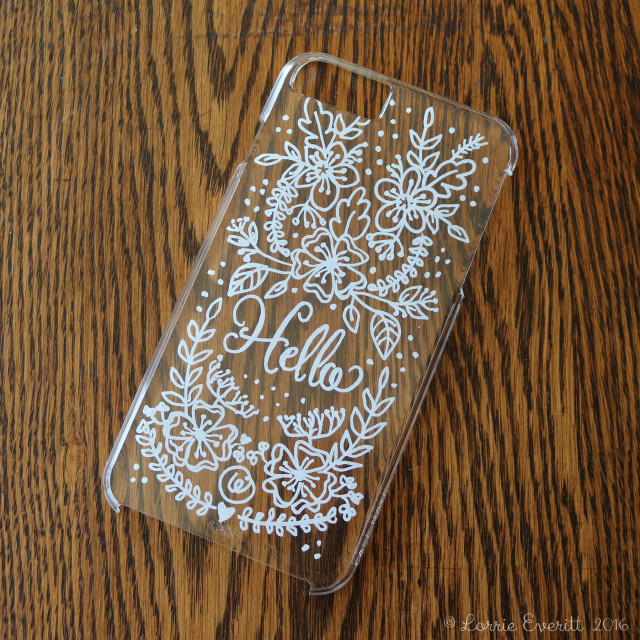
Step 6: I let the paint dry for about 15 minutes before I put the case on my cell phone.
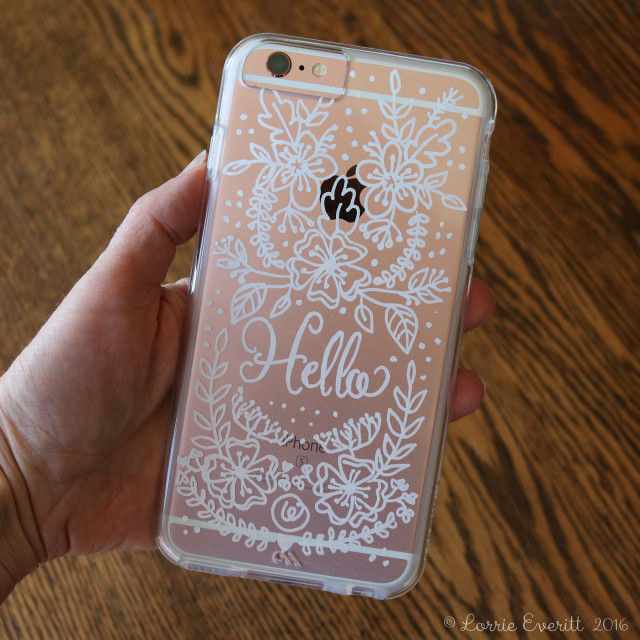
Step 7: And there you go! One personalized cell phone case.
