
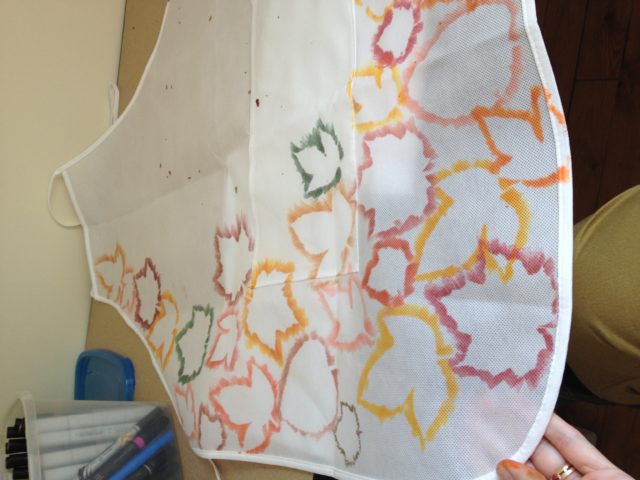
This is my first Makeful Challenge project!
With such a blank slate, it took me some time to figure out what to do. Working outside on a beautiful fall day, I remembered a crafty technique that I used to do as a kid after gathering leaves. This project is quick as it only uses markers. It can be modified for new crafters or made more
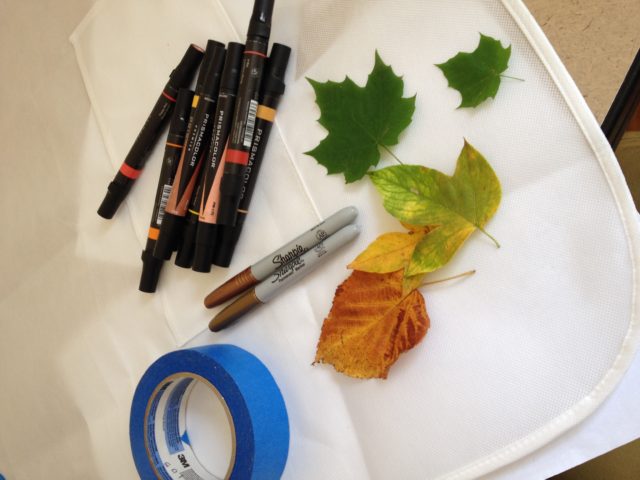
Materials
- Apron (or other fabric material)
- Permanent Markers (yellows, reds, oranges, peach, brown, deep green, for this colour scheme, but any colours will do!)
- Metallic Sharpies (gold, bronze)
- Painters Tape or Masking Tape
- Pumpkin Spice Latte or your favourite autumn beverage*
- *optional
How to make it
Step 1: Go for a walk and pick a variety of leaves (the more 'fresh' they are the better, if they are a bit dry, they can crumble).
Take in how awesome autumn is.
I found five leaves, but you can do as many or as few as you want depending on the look you are going for.
Step 2: Brush off any dirt that may be on your leaves. I didn't bother washing them, as they were freshly fallen.
Due to the nature of the apron fabric - I placed sheets of paper underneath to make sure I didn't stain my desk.
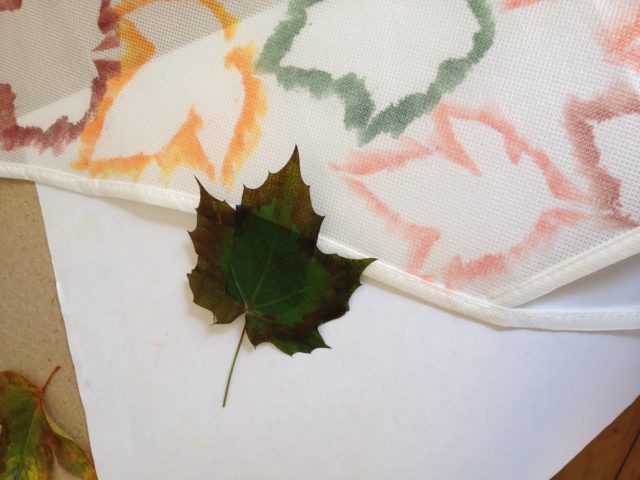
Step 3: Put small rolled pieces of tape on the back of your leaves, this will secure them as well as give you a good visual for the placement of them
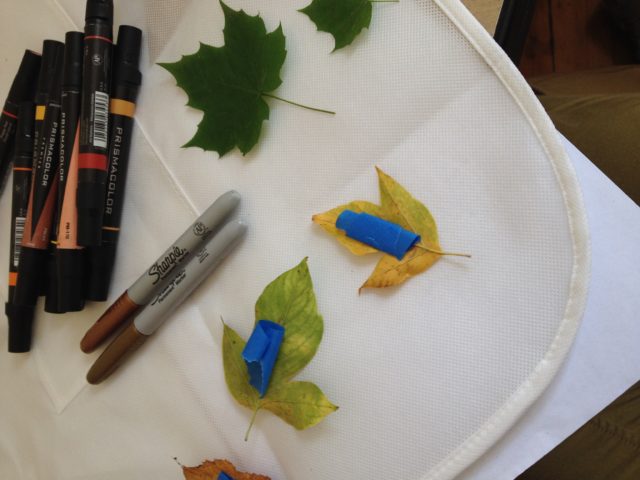
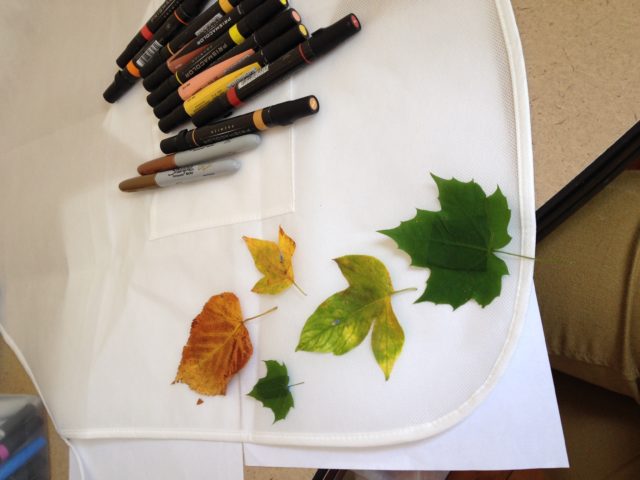
Step 4: Place your leaves on the apron (or fabric).
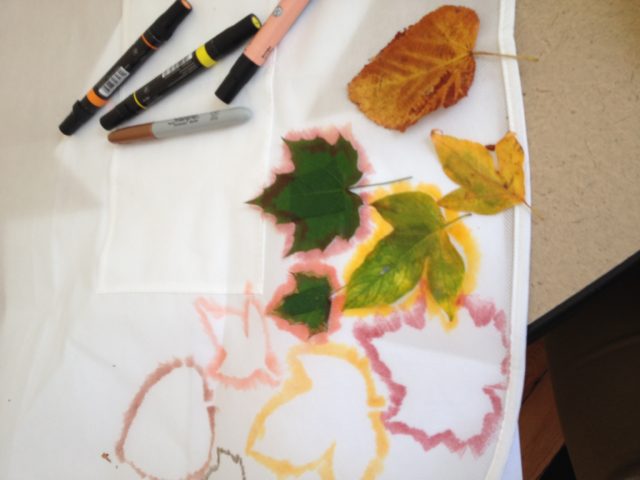
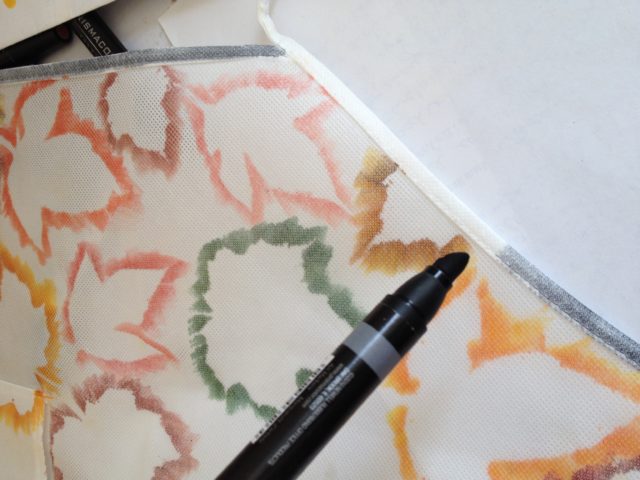
Step 5: From the edge of the leaf, brush the markers using an outward motion
Inside---> Outside = good!
It can be really easy to scrunch the leaves if you go the other way
Outside ---> Inside = Sad!
tip: Watch that your hands to carry over colours and smudge.

Step 6: Repeat! I wanted to do an asymmetrical pattern on the apron, however you can do whatever you want.
I used the all colours randomly on all the leaves.
Tip: Because the leaves are a bit waxy, some of the colours stay on them - this can make for some really cool blending effects
Step 7: Take a step back .. how does it look visually?
I noticed a few 'gaps' to fill in.
Step 8: By placing part of the leaf off the apron, this filled any odd gaps that had appeared.
Step 9: For this project, I liked the idea of adding a visual trim, so using a deep blue-grey marker, I followed the hem line all around. In this case, I left the drawstrings and the neck strings white.
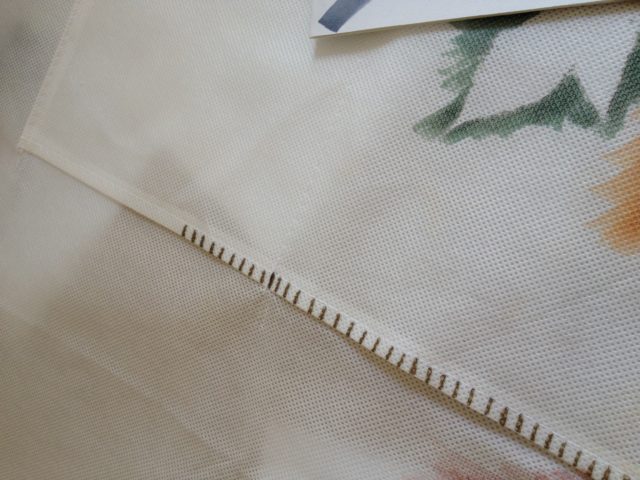
Step 10: Ok, so I wanted a little bit more bling. TOTALLY OPTIONAL. Using a metallic sharpie (in this case, gold), draw small lines on the hem of the pocket. Just go for it: don't measure, don't worry about being precise
Step 11: Let the apron set for a bit to ensure the colours set in the fabric.
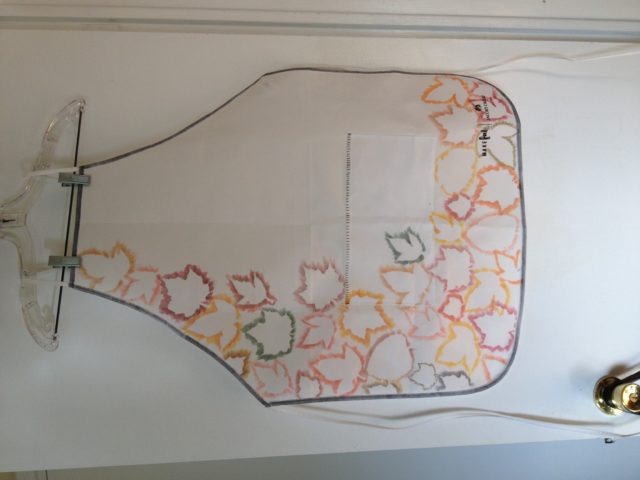
Step 12: Congrats! You did it!