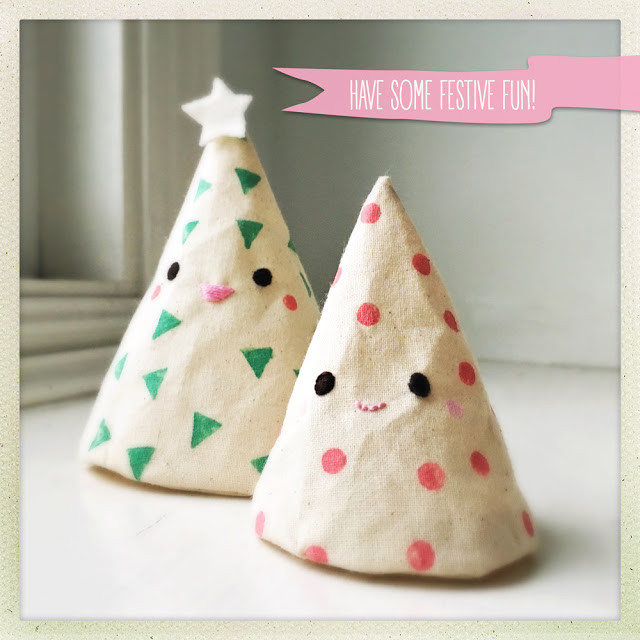
A whimsical take on the Christmas Tree as a decoration. A fun way to spread happiness this Holiday season.
![]()
Materials
- Fabric - I chose plain muslin for this craft
- Sewing machine
- Thread to match your fabric
- Scissors
- Eraser or stamp of choice
- Acrylic paint and paint brush
- Embroidery floss, pink for mouth, brown for eyes
- Embroidery ring
- Embroidery needle
- The Festive Forest Friend pattern print out
How to make it
Step 1: Print out the pattern at the original site
Step 2: Trace pattern onto a piece of muslin. I’m using blank muslin because it’s sturdy, and yet somehow still airy. You can really use any robust fabric for this, as long as it seems like it will hold it’s cone shape without any stuffing
Step 3: create your ‘print’ on the blank muslin. For my two trees I used two very simple stamps.
Step 4: Next, mix your color of choice out of the paints in a shallow plate. Then begin stamping your pattern in the traced out Festive Friend body shape and base. Remember to do your stamping on a piece of cardboard because the paint will seep through the fabric and mark whatever is underneath.
Step 5: Let the paint dry!
Step 6: embroidering the face! This could be done before painting. you will need to mark your face outline onto the muslin, lightly with a pencil.
Next you will embroider on the eyes with the brown embroidery floss and the mouth using the pink embroidery floss. I personally like to have my fabric mounted in an embroidery ring while doing this, which is why you do not cut out the piece first. You want to have enough fabric to fit it into the size of ring you have!
Step 7: Once the face is embroidered on, you can now start to cut! Cut out the body, base and star piece.
Step 8: Now it’s time to machine sew! Start with the the body piece. Just a straight stitch down the back to the first opening notch marks, back stitch, lift up sewing machine foot, pull fabric through to next notch mark, start sewing again, starting with a quick back stitch to the end of the line. You will use that space between the notches for flipping you Festive Friend inside out! Then sew on the circular base to the bottom of your cone shaped tree
Step 9: Once you are done with that, you can carefully flip your Festive Friend right side out!
You will need to hand stitch up that hole you left open. I use a simple whip or chain stitch for this part in a thread color to match fabric.
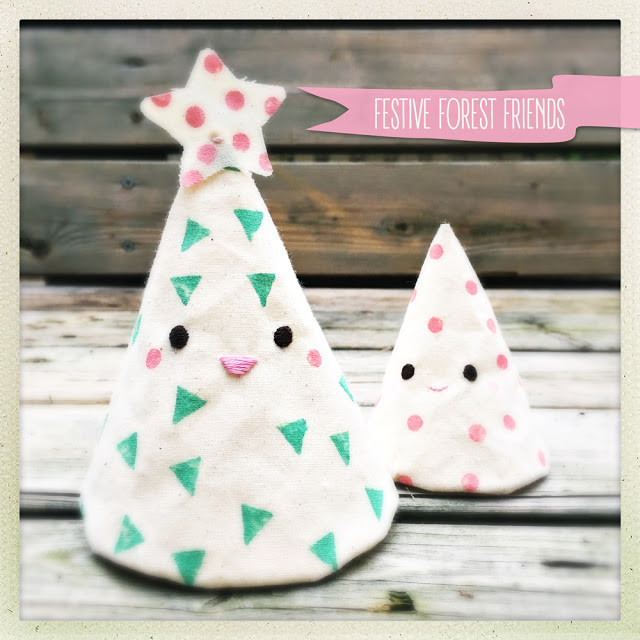
Step 10: Now it’s time to attach the star. I just did a couple quick stitches in a thread color that was close to the muslin to attache the star to the tip of the Festive Friend.