I have been itching to try painting cookies since a maker posted some back in watercolour week! Mother’s Day seemed the perfect opportunity to give it a try. I was surprised how fun and easy it was to simply interchange watercolour paints for gel food dyes, and I quickly got into experimenting with different weights, lines, and blends.
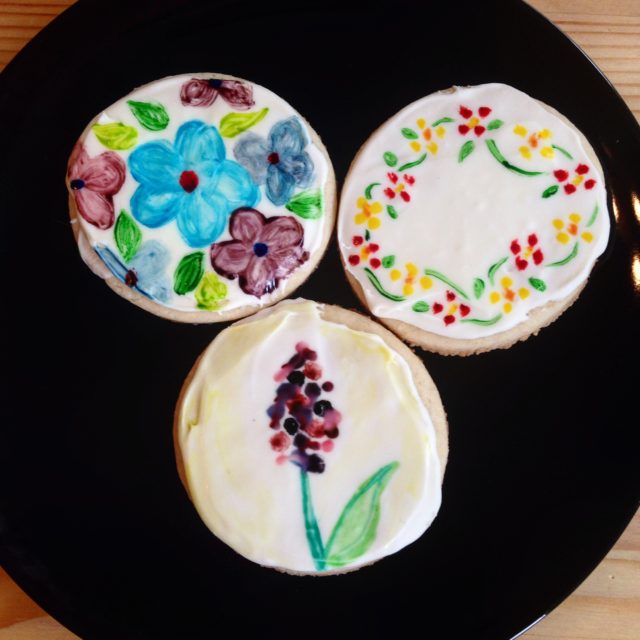
These delicately detailed sugar cookies are pretty enough for a tea party and tasty enough to gobble right up.
Materials
- Family Secret Sugar Cookies
- Royal Icing
- Wilson's Gel Icing Color (moss green, red red, lemon yellow, and royal blue)
- Assorted Paint Brushes
How to make it
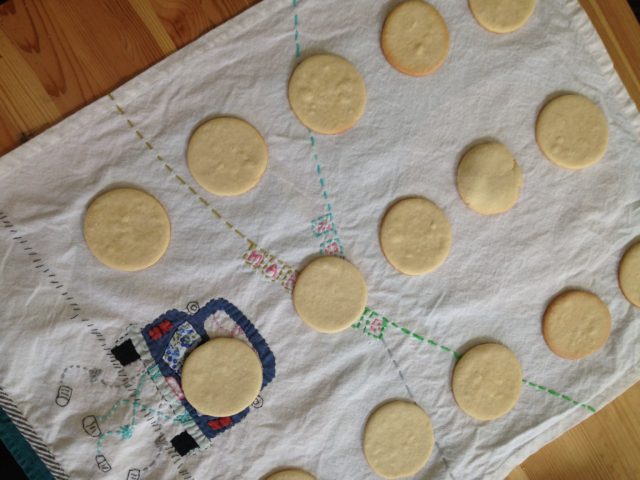
Step 1: To decorate cookies you obviously first need some cookies! I use my husband's family sugar cookie recipe cut into simple circles, but any shape of any cookie will do.
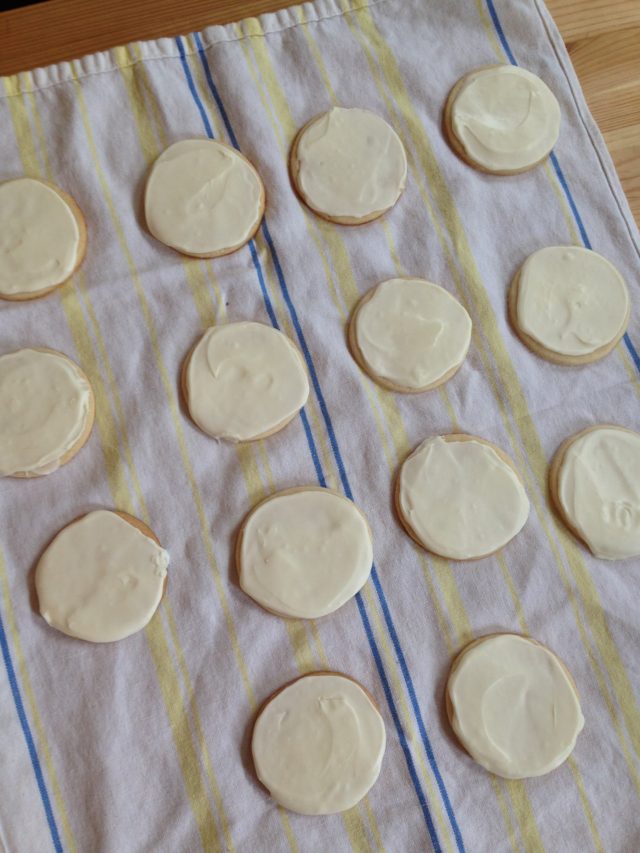
Step 2: Once they have completely cooled, frost the tops with royal icing and let it dry for a couple hours. It's important they are completely dry before you try to paint them--I made a classic impatient mistake at first, and ended up getting icing everywhere.
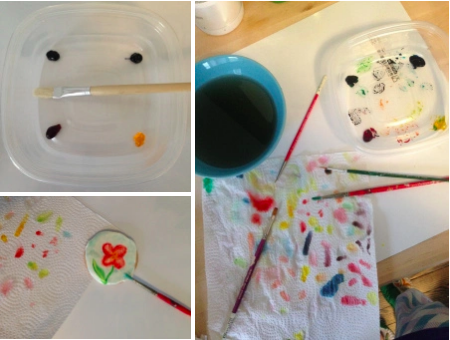
Step 3: Using food dye and water, start to experiment with different shapes and lines on the cookies. You can do any design you want. Let the dye dry and layer more colours on top, use a dry brush to create texture and blend hues, use water to create different shades and shapes. Anything is possible!