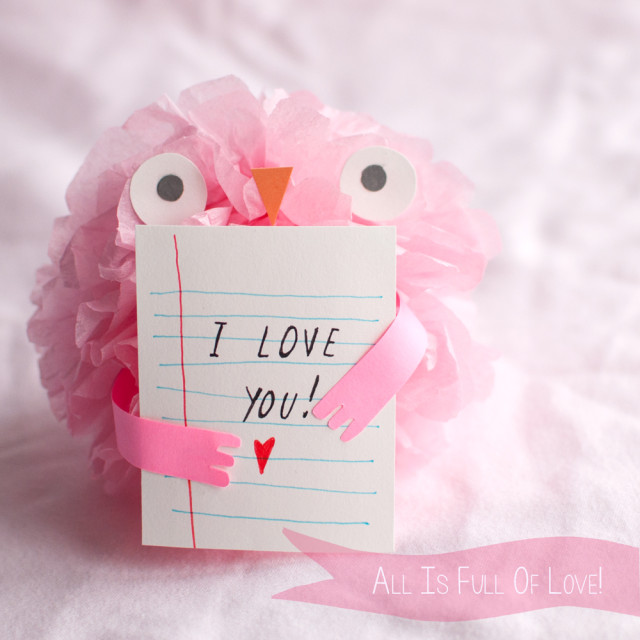
A fun twist on a traditional craft, that turns a paper poof into an adorable love filled bird of prey valentine! Fun and easy and full of character! And of course my favorite part is making the love note!
![]()
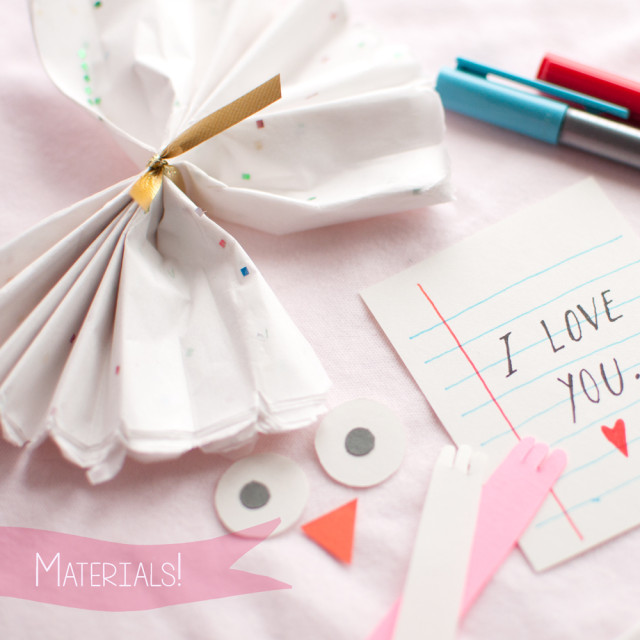
Materials
- Tissue Paper
- Construction Paper
- Google Eyes
- Glue
- Pens
- Lined Paper (optional)
How to make it
Step 1: How To Start!
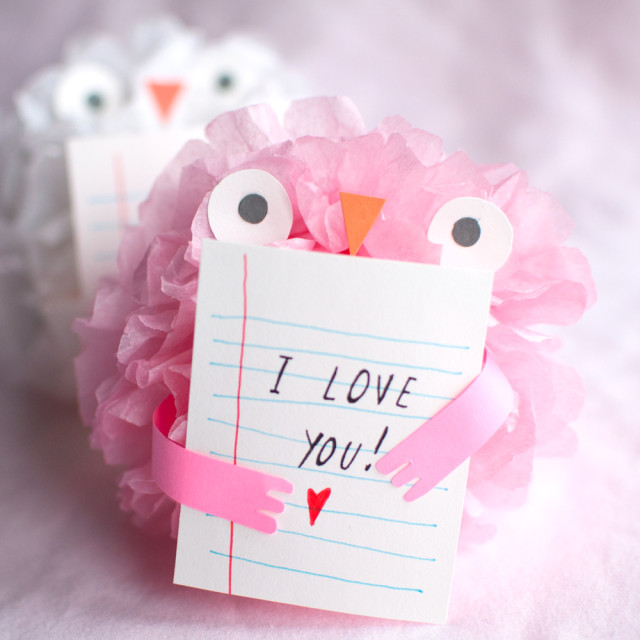
The Love Bird craft is basically a little twist on the traditional paper poofs decoration, which I am well versed in creating, since I made the somewhat insane decision to decorate my entire wedding with them, and make them myself. But I digress… back to the craft! Okay, so essentially the Love Bird body is a basic “ paper poof with rounded edges! The poof is a little more finicky to make thank usual at this smaller size, but with a little patience it’s no problem. Once you have your poof all puffed up, then you can start adding on the parts, which I like to assemble and have ready before hand!
Step 2: The Parts!
Eyes - I like to make my own eyes, I trace and then hand cut the eye circles and use paper punched dots for the pupils. I just like the organic feel. But you could totally use googly eyes no problem.
Beak-A triangle cut from orange construction paper.
Arms - For the arms, I cut a strip of paper that was “ long by “ wide. Then I cut three little fingers at the end of each side of the strip. I used construction paper that was the same color as the tissue paper, but that is just me… you can pretty much do what ever you want! There are no rules in this house!
Love Letter - I made my love letter from scratch. It’s just a square of white construction paper, with hand drawn lines in blue and red to make it look like lined paper. And then I wrote I love you on it. I think you have the option here to really do whatever you want. You could just make it a heart, or a cloud, or even a tiny envelope with a message inside. Again, sky is the limit! Let your heart guide you!
Step 3: Assembling Your Love Bird!
Okay, this is fairly straight forward, the only part that takes a little fussing is inserting the arm strip. You are going to want to reach into your poof, towards it’s center tie, and move the “paper petals” so half your poof is puffing up and puffing down between your thumb and finger (see image). Now you can wrap your arm strip around the center of the poof, bringing the hands so they are both facing out. Then you can re-fluff your poof so it covers up the center and engulfs and hides and holds the arms in place all at once (see image). You could add some glue in there, but I found the petals held my arms in place very well.
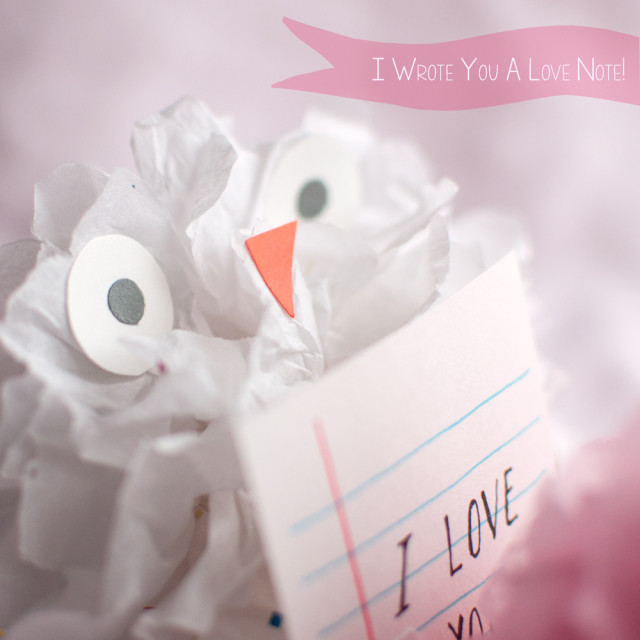
After your arms are set, it’s time to clear a little spot for your eyes and beak! I just flattened out some of the paper petals where I wanted to see the eyes go, and same for the beak and just glued them right in! Easy- peasy!
Last step is glueing on the letter. Again, just a matter of adding some glue to the hands and holding them in place to the letter…and BAM… your done!
I did some final shaping at the very end, just to give my Love Birds so extra fluff here or there. I think they came out pretty adorable… for birds of prey! I hope my little hoot owl likes them as much as I do! And I hope they inspire you to make your own Love Birds to give to the someone special in your life!