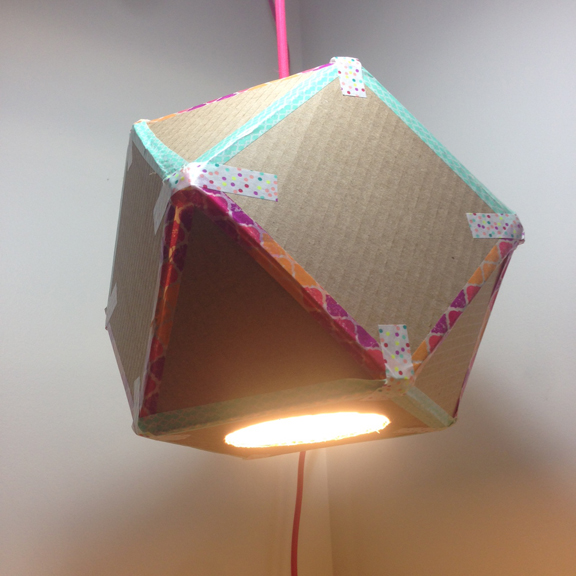
This project started small and turned into something so much bigger! First of all, it was impossible not to be inspired by all the beautiful washi tape that’s available out there. I’m a lover of colour and pattern, and this stuff has both! I began by creating a small paper mobile and quickly discovered that creating a shape from nothing was pretty darned exciting. To be honest, each time I printed out a template I didn’t even know what it was going to look like as a finished shape. They came to life in front of my eyes. As soon as I’d finished one of the mini paper shapes, I looked at it and thought, “this would make a really cool pendant light”. I hope you’ll agree!
![]()
Materials
- Washi Tape
- Cardstock, paper or cardboard
- Scissors
- Exacto Knife
- Glue or Glue Dots
- Home printer for smaller project, industrial printer for larger
- Hanging light cord (Ikea)
How to make it
Step 1: Search the web for a free geometric printable. (Link in blog for a great source I found on Pinterest).

Step 2: Print the design you choose on cardstock or a heavy weight paper of your choice. If doing a larger project like the pendant, you may need to take this job to a professional print shop.
Step 3: Cut, score and fold your design.

Step 4: Glue folds and add washi tape.

Step 5: Do it all again using a huge piece of cardboard.

Step 6: Add a hanging light fixture and you've got yourself an adorable pendant!